

 BLIND COURSES
 CURTAIN COURSES
 CUSHION COURSE


WORKING WITH DIFFERENT FABRICS by Cindy
IT STARTS WITH YOUR FABRIC
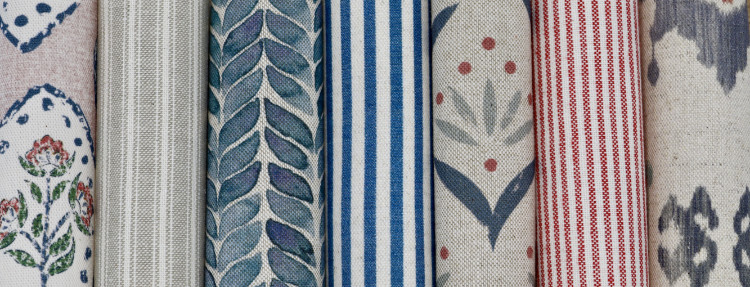
With so many fabrics available to choose from, it can be rather overwhelming finding the right one for your project and experience level.
As a beginner, there are some fabrics that I would avoid so I’ve put together this guide to help you sift through the options to find the best fabric choice for you. If you subscribe to any of our courses, you can email me with any questions or concerns that you have regarding your fabric and I will do my very best to guide you in the right direction.
In the guide below I have considered the main fabric types individually and included tips and advice where appropriate along with brand information on fabrics that I would be happy to recommend.
I have given each fabric type a £ rating for value for money and a STAR rating for ease of use, 5 star being the easiest.
I really hope that you find this guide helpful, I know I would have done all those years ago!
MOVEMENT
In this guide I will refer to fabric stability and “movement”.
If you pick up your fabric and lay it straight back down again and it holds it’s shape, then there is little or no fabric movement. This is likely the case with a cotton or cotton mix fabric and will mean that the fabric should be easier to work with.
If you lay the fabric back down and it doesn’t sit quite straight, then there is movement in the fabric and it may be trickier to handle. This video will demonstrate what I mean.
Fabric that demonstrates movement is trickier to work with but certainly not impossible. It just requires extra care and a different method to work on.
| Easy to work with |  |
| Cost |  to to |
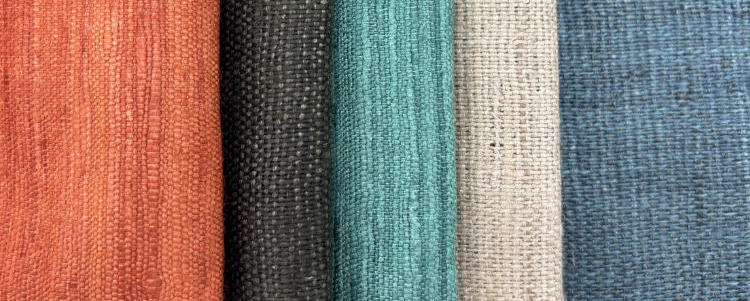
Cotton is the fabric I recommend for any beginner. It’s very affordable so you’re not going to panic too much if you make a mistake, it’s a very stable fabric so behaves really well when cutting and sewing and it makes up beautifully. It’s a winner in my book.
For affordable cottons I recommend…
Really sturdy cottons that make up beautifully in a great selection of colours and designs.
Tinsmiths have a fantastic selection of plains, stripes and prints at really affordable prices in classic and contemporary designs.
Just be aware that many of the fabrics on their site come as double widths so you would not need to order as much.
DOUBLE WIDTHS - NOTE
Double widths can be great for curtains or wide blinds as it negates the need for joining fabric widths and pattern matching. So a big PLUS for the beginner.
| Easy to work with | |
| Cost | to |

Cotton is frequently mixed with many other fabrics for stability, a natural feel or to keep the price down.
For example - Linen has become super expensive lately so it often mixed 50/50 or 90/10 cotton to linen. This keeps the fabric relatively affordable but also makes the linen easier to work with. Fabrics may say LINEN RICH or LINEN UNION which implies that it is a mix with unstipulated percentages.
Cotton can also be mixed with polyester to give the fabric a more natural appearance and keep the cost down.
Due to the cotton content, these fabrics tend to be equally easy to work with but may be pricier, especially if linen is in the mix - literally.
Some fabric companies that I love who make cotton mix fabrics are…..
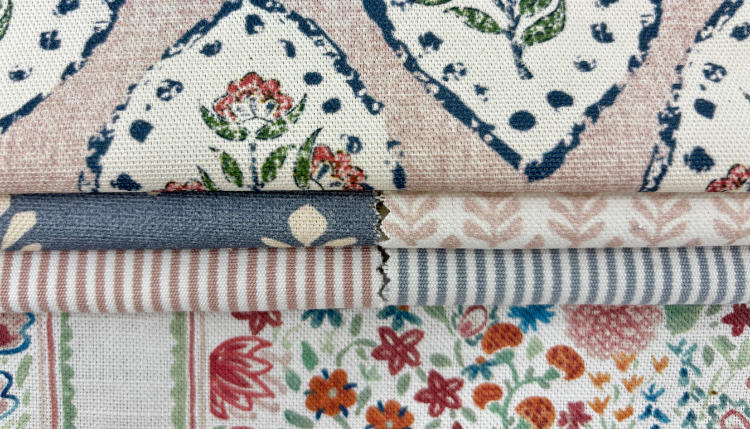
If you love pattern and colour, then you will love Charlotte’s fabrics. Totally unique, printed on a 50/50 cotton linen mix so super easy to work with.
Unique and pretty prints that would suit a cottage or country vibe in tones of blues, greens and pinky reds.
| Easy to work with | |
| Cost | to |

Velvet is a gorgeous choice for curtains and can be really dramatic. I don't tend to make many velvet blinds (they can be quite bulky) but it can look gorgeous as a border along the bottom of a roman blind or the leading edge of a curtain.
Like most things in life, there are cheaper ones and crazy expensive ones. You can get smooth velvets, crushed velvets and deep pile velvets. I recommend a smooth cotton velvet for easier sewing. Crushed velvets can look fantastic as part of a more luxurious scheme.
THE NAP
The main thing to consider with velvet is the nap. If you lay your velvet out and run you hand down the length, you will be able to feel the nap. It runs smoothly in one direction and rougher in the opposite when rubbing the nap up the wrong way. Your fabric should be used with the nap running down.
When cutting lengths of velvet, I always mark the bottom of the panels with a a strip of masking tape (right at the bottom so it would be disguised in the hem just in case it marks). This way you will make sure that all panels are joined face to face, tops to tops and bottoms to bottoms. It would stand out like a sore thumb if you joined them the wrong way as you can see velvets look different if you look at the nap going down or if you look at them with the nap going up.
I always use a walking foot joining velvet panels. This is because the nap on velvet is made up of thousands of little fibres that stand up off the cloth. When these fibres are pressed together at the joining stage, they all move around as the surface is not flat. This, in turn, means that you will get creeping and puckering.
MAKING TIPS
- If making interlined curtains, the hem can be quite bulky if double folded, so I would consider a single fold on velvet curtains having overlocked the raw edge to avoid fraying.
- Try to avoid using pins too much as they can mark the fabric.
- DO NOT DIRECTLY IRON VELVET! A little gentle steam can be used but check on a offcut first to ensure it doesn’t mark/ruin the fabric.
- Try and keep velvet flat at all times (unfolded) as it will ruin along a crease/fold line.
- Make sure the nap runs down your curtain or blind.
- Make sure when you join panels the nap runs in the same direction.
- Machine stitch in the direction of the nap with a walking foot attachment. If you find the fabrics are slipping apart, then you will need to tack first before going to prevent the moving.
For beautiful Velvet fabrics, have a look at the following websites…
Pure Edit have some very affordable velvets that I have used in the past on several projects and they have been easy to work with and made up really well.
Linwood have an amazing array of velvets and samples can be ordered directly from their site. Many of them are also FR treated so are perfect fro upholstery projects as well.
Kate Forman has a very small selection of velvets but they are really gorgeous colours, are fantastic quality and make up make up beautifully.
Designers Guild are a large company but they have a huge selection of velvets and they range from subtle to super bright. Consider the following collections….BRINZIO and VELLUTO (comes in narrow and wide width so make sure you’re looking at the price for the one you want!).
Another large company but, again, you can order samples directly and the company are really helpful and nice to deal with which counts for a great deal in my book. Collections to consider… MIRA (crushed velvet) and RIO
One of my favourite brands for quality and quirk. The MEDICI collection is pricey but a step up in finish with rich colours that all so tempting.
| Easy to work with | |
| Cost | to |
The ultimate in decadence. Silks are truly beautiful but I have a slight issue with them as I worry about all the little silk worms who work so hard on making it. They are boiled or steamed alive as part of the process which does not sit well with me.
If you’re considering using silk, there are many faux silks available these days and even look at satin cottons (great for piping).
MAKING TIPS
- Always interline.
- Consider using blackout lining as well to reduce sun damage to the fabric.
- Use a very sharp/fine needle on the sewing machine to avoid ugly puncture marks. Microtex needle.
- Use a teflon, roller or walking foot on your sewing machine to join widths as they can slip apart.
As silk does tend to fade and degrade quicker than other fabrics, you can get some really good looking faux silks that might be a better option for longer lasting fabrics.
James Hare is well known for his silk fabrics in prints and plains. He also has a faux silk dupion which sits way better for me!
| Easy to work with | |
| Cost | to |
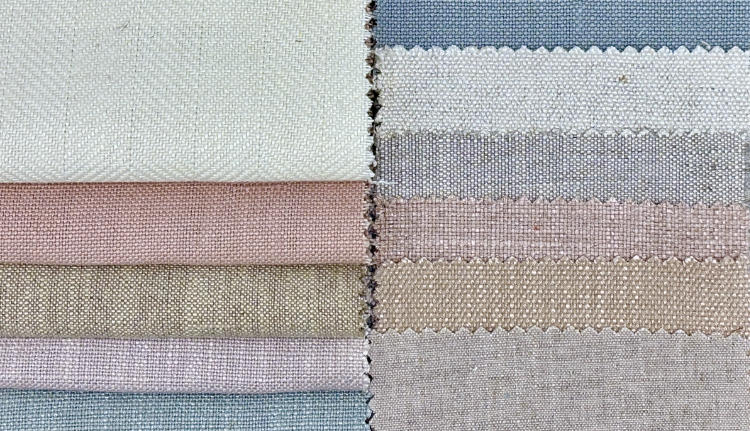
Personally, I love linen and it is my go to fabric of choice. It is simply stunning when made up. I love the beautiful natural handle and rustic look of the finished product, but it can pose a few problems and needs to be handled with understanding as it has lots of movement and can be creasey.
You can use linen/cotton mixes (as mentioned above) and these tend to be more stable and easier to work with, particularly for Romans. Linen/viscose mix tends to have a softer handle and will drape beautifully. The viscose should make it less creasy and can add a little sheen to the fabric (some like that and some do not, so a personal choice).
For 100% linens, they come in varying qualities so can range from very soft and fine to thicker and more sturdy. Prices for 100% linens also vary greatly.
MOVEMENT WHEN WORKING WITH LINEN
100% pure linens tend to have a lot of movement in them. You will notice that each time you lift and shake the fabric and then lay it back down, it will never lay back down in the same way. For example, if you drew a straight line across the fabric, lifted, shook and relaid it, the line would definitely not be straight. So it is important to make sure that you have found a straight line across the width that you can return the fabric shape to (with a plain I use the “drawn thread” method) and with a pattern, you will need to manipulate the fabric to get the pattern straight across the work surface.
DRAWN THREAD METHOD OR "PULLING A THREAD"
This is a method I use on a plain linen to mark a straight line I can return the bottom of the fabric to after moving it.
MORE TIPS
- When laying the lining on top, use weights (or heavy books) and clamps to ensure as little movement as possible.
- If using multiple widths and your table isn’t very large, make sure the excess weight of the fabric hanging off the table is supported on chairs or smaller desks/tables.
- When I lay the lining on, I draw a line vertically up the length of the curtain panel every half width or so and pin/tack the layers together to avoid movement.
SOME OF MY FAVOURITE LINENS
| Easy to work with | |
| Cost | to |

Viscose is not truly man made or truly natural and seems to fall somewhere in between. It's seen more and more frequently in furnishing fabrics but has been around since the late 1800’s. It gives fabrics a beautiful “handle” making it perfect for curtains as it aids drape.
I have put viscose in a separate category as there is just a coupe of things to note.
I haven’t, as yet, seen a 100% viscose fabric. It is generally added in varying amounts to other materials, particularly to linen to bring the price down, improve drape and make fabrics less creasy. It is also often part of a 3 way fabric mix too. An experienced eye can generally tell a fabric that has viscose in it due to it's softer handle (feel) and slight sheen. For those customers who love linen but not the creasing a linen/viscoe fabric is a great option.
In my opinion, if you have a linen/viscose combo then you will have to be very careful to keep the fabric totally flat and straight throughout the process. For curtains, even if the fabric is totally flat and smooth, when the curtain hangs, it can end up growing as the weave opens up slightly with gravity. So getting spot on length curtains can be tricky for a beginner.
When I make Roman Blinds with it, I make on a soft surface of interlininging with lining over the top so that I can iron the face fabric smooth, flat and straight during the make up process to avoid it growing once hung.
| Easy to work with | |
| Cost | to |

Now Polyester is a funny old fabric. If you have memories of polyester elasticated waist slacks from the 70’s, then you are probably of my generation and that is how I think of polyester.
I am pleased to say that it has come an awful long way since those days and I see fabrics regularly where I say to myself “I can’t believe it’s polyester”.
So, I think that you have to take each fabric on it’s own merits as so much depends on your taste and what you are after. You just need to bear in mind that you cannot iron polyester fabric (maybe with a cool iron taking into account manufacturer care instructions) so that can be tricky with side folds/hems on blinds and seams/hems on curtains.
As a beginner, I would still steer towards a cotton blend (can include polyester) for a starter project.
Polyester is not such an environmentally friendly fabric though as it is not biodegradable and it is made from petroleum .
| Easy to work with | : Depends on fabric content |
| Cost | to |
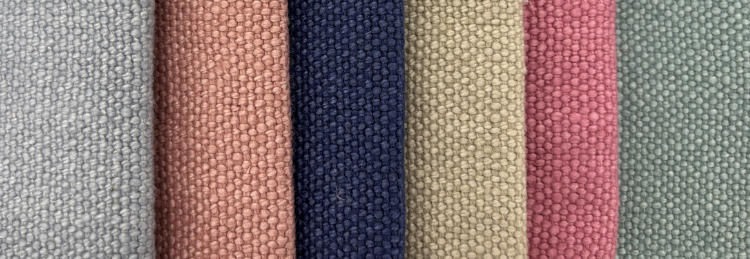
Plains don't always have to be plain. With a plain fabric colour the texture, weave and sheen can give the fabric variation and character.
| Easy to work with | : Depends on fabric content |
| Cost | to |
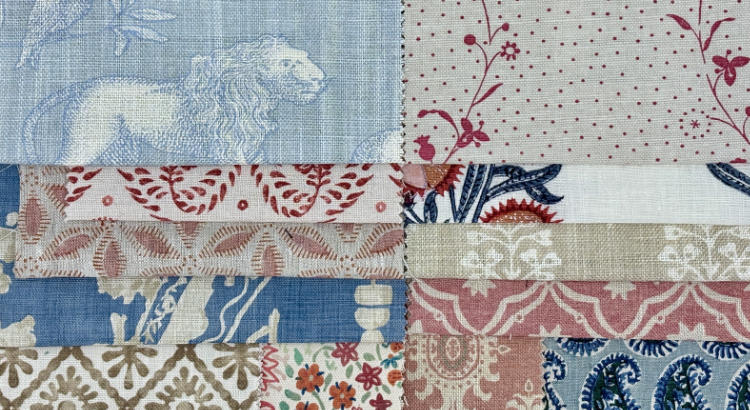
Pattern fabrics can make a really dramatic statement on a blind or make a wow pair of curtains but there are some rules to follow to avoid any problems.
- Understand if you have a standard pattern repeat or a half drop pattern repeat
- Calculate the correct fabric quantity
- Check your pattern repeat
- Place the pattern
- Cut the correct lengths of fabric (adjusted cut drops) so they match at the joins
- Pattern match the joins
STANDARD OR HALF DROP PATTERN REPEAT
When buying patterned fabric, the manufacturer will state a vertical pattern repeat. This is the distance between the top and bottom of 1 whole pattern repeat on the fabric. They will also state if it is a half drop repeat. An explaination of the difference between a Standard pattern repeat and a Half Drop pattern repeat can be found HERE.
Most fabrics are a standard pattern repeat. There are significant differences cutting, joining and calculating fabric quantites for half drop pattern repeat fabrics. More details HERE
CALCULATING THE CORRECT QUANTITY
When making a pair of curtains or a Roman blind that needs fabric joins, with a patterned fabric you will need to use an ADJUSTED CUT DROP. See our article on Adjusted Cut Drops HERE
Generally after calculating the quantity in Adjusted Cut Drops we also add one pattern repeat to the total to place the pattern on the curtain or blind.
CHECK YOUR PATTERN REPEAT
When you receive your fabric always check and measure the actual pattern repeat on it and compare that to the quoted pattern repeat you based your fabric qty calculation on. Sometimes it can be different and this can create problems as your Adjusted cut drops will change and my not be long enough or you may not have enough fabric. IT IS CRUCIAL TO DO THIS BEFORE CUTTING AS ONCE YOU HAVE CUT THE FABRIC, THE MANUFACTURER IS UNDER NO OBLIGATION TO TAKE THE FABRIC BACK ( AND PROBABLY WILL NOT).
PATTERN MATCHING THE JOINS
Learning to pattern match is a useful skill and is quite therapeautic once you have mastered it – getting a perfect pattern match and join pleases me no end. See our EXTRA PATTERN MATCHING MINI TUTORIAL
| Easy to work with | |
| Cost | to |
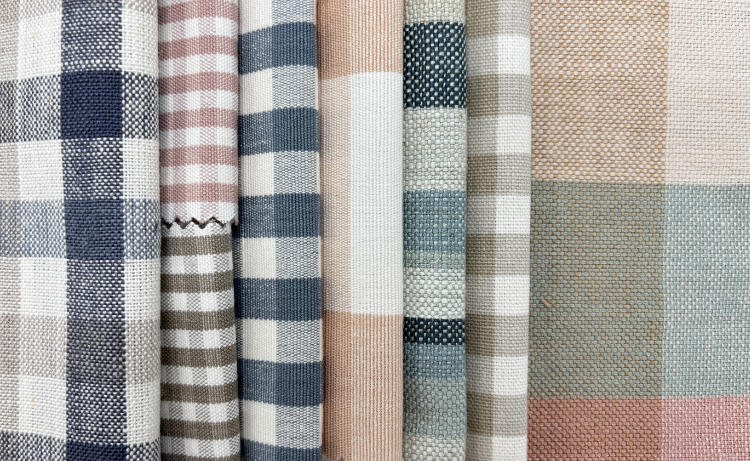
I have had a lot of issues with checks over the years and my experience tells me that they come with their fair share of problems. Why is this? Every fabric has a selvedge that runs down each side - the slevedges are normally slightly tighter than the main body of the fabric. When you lay your check fabric on the table, lay a straight edge across the width at a true right angle to the selvedge, you will frequently see that the check dips down across the straight line and may not run straight across. I call this a fabric “smile” although it does very little to make me smile! In fact it is a total nightmare when you are making a roman blind as it is crucial that the check is straight across the top. It is less noticable if you are making a curtain but I would still avoid. I have had this happen to me too many times with checks - if it does happen, I send the fabric back and hope for a better batch second time but still no guarantees.
For this reason, I tend to avoid and encourage my customers to do so as well as I cannot guarantee that the fabric I receive will have a perfect straight check across the width .
At the time of writing this article, I have been looking around for checks and they are few and far between, maybe that's just a fashion thing. There isn’t really a company that I associate with checks, many companies have small selections.
| Easy to work with | |
| Cost | to |
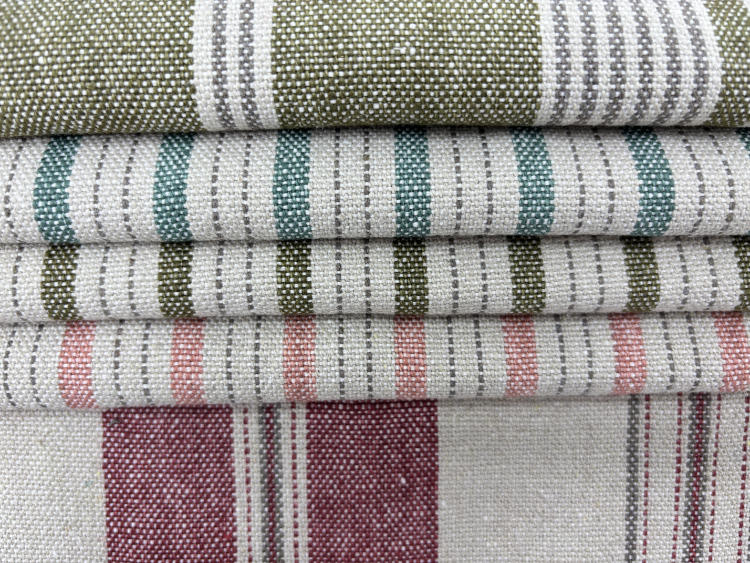
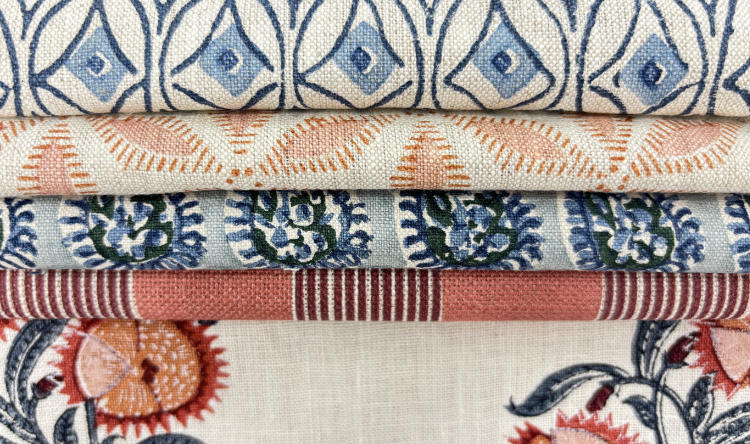
Stripes – Stripes down a fabric work really well on roman blinds and I love Ian Mankin fabrics for this very reason – the linen/cotton blends never disappointment when making up and give a simple and understated elegance
If you’re thinking of using a stripe for a curtain, consider how you are going to head it up. If you are hand pleating, it might be worth considering how you place your pleats across the width to make the best use of the horizontal pattern repeat of the stripes rather than a hap hazard pleating. Pencil pleat can work well on striped fabric but I always make sure that I use the correct 2.5 x fullness ratio for maximum effect.
So, obviously you can get stripes in any fabric content so it just depends on the look you’re after taking into account the comments above.
The go to place for stripes is…
Ian Mankin has an utterly inspiring collection of stripes in many cloth types and colours that are timeless. As beautiful today as they were when I started over 20 years ago. Their relevance is endless.
Tinsmiths have a very affordable selection of standard and wide width stripes. Just be careful with wide width stripes as they are not always straight - not really a problem on a curtain but slightly more troublesome with a blind where any imperfection stands out like a sore thumb.
Timeless and sustainable fabrics. Lots of stripes to choose from in cotton cloth and, for cosy decadence, merino wool.
When you get your fabric ALWAYS CHECK IT before you start making.
- Check the fabric you've got is what you think you ordered (sound silly but sometimes colours are similar and they send the wrong one - or you ordered the wrong one)
- Check you have the correct amount that you ordered.
- Measure the Pattern Repeat and check if the pattern is a straight match or a half drop.
- Before you cut any fabric, ensure that you have checked it for faults (as companies will not always take back faulty fabric once it has been cut)
I also iron every piece of fabric before I commence make up (following manufacturer’s recommendations). The reason for this, particularly when making a roman blind is that you will probably need to press it once complete. If you have not already ironed it, you can get some unfortunate shrinkage that will ruin your blind. You will also you frequently need to press side turns, hems etc during the make up process. Again, if not already pressed you may end up with shrinkage just in these places making the blind narrower at the bottom.
I also make sure that I press linings too before make up – crucial in Roman Blind making.


